How to Build Your Custom Meta Ads CRM in Stackby
Tired of messy spreadsheets for your Facebook (Meta) leads? Learn how to build a custom Meta Ads CRM in Stackby — automate follow-ups, track ad performance, and streamline lead management in one place. Ideal for agencies and business owners alike.

Running Facebook Lead Ads (now Meta Ads) is like opening a direct line to potential customers. With just a few clicks, you capture contact details from people genuinely interested in your products. And the best part? They never have to leave Facebook.
At first, managing these leads in a spreadsheet might work. A handful of leads? Easy. But as your ads succeed, leads multiply. Fast. And soon, that neat spreadsheet turns into chaos.
This is where a CRM (Customer Relationship Management) system comes in. It’s more than just a contact list. A CRM helps you organize your leads, track interactions, and most importantly, gain insights into your customer behavior. With a proper Meta Ads CRM, you can not only keep your leads organized but also get a clearer picture of which ads are performing well, what your customers are interested in, and how they respond. This means better targeting, more conversions, and less chaos.
But usually, you need two tools: one for capturing leads, another for managing them. Not with Stackby. It’s a single tool that does both. Launch Facebook Lead Ads, and your leads land directly in your custom-built CRM without juggling multiple tools. No missed leads, no messy setup.
In this guide, let’s walk you through how to set up your custom Meta Ads CRM in Stackby, step by step.
Step 1: Create Your Custom CRM with Different Fields
Before you get into the details, you need a solid base that will act as your command centre. And Stackby offers you two ways:
1. Start with a Template: Stackby offers a pre-built Facebook Ads CRM template. This is a quick way to get started without creating everything from scratch.
2. Build Your Own Custom CRM: Prefer something tailored to your workflow? No problem. You can create your own table, add custom fields like:
- Company Name
- Lead/POC Name
- Phone Number
- Campaign Source
- Ad Set Name
- Lead Status (e.g., New, Contacted, Qualified, Converted)
- Follow-Up Date
- Notes
Stackby offers over 30+ unique column types like Email, Phone, URL, Dropdown etc., so you can customize each field to your liking. You can also visualize your CRM data from multiple views like Grid, Kanban, Calendar, Gallery, List and Timeline.
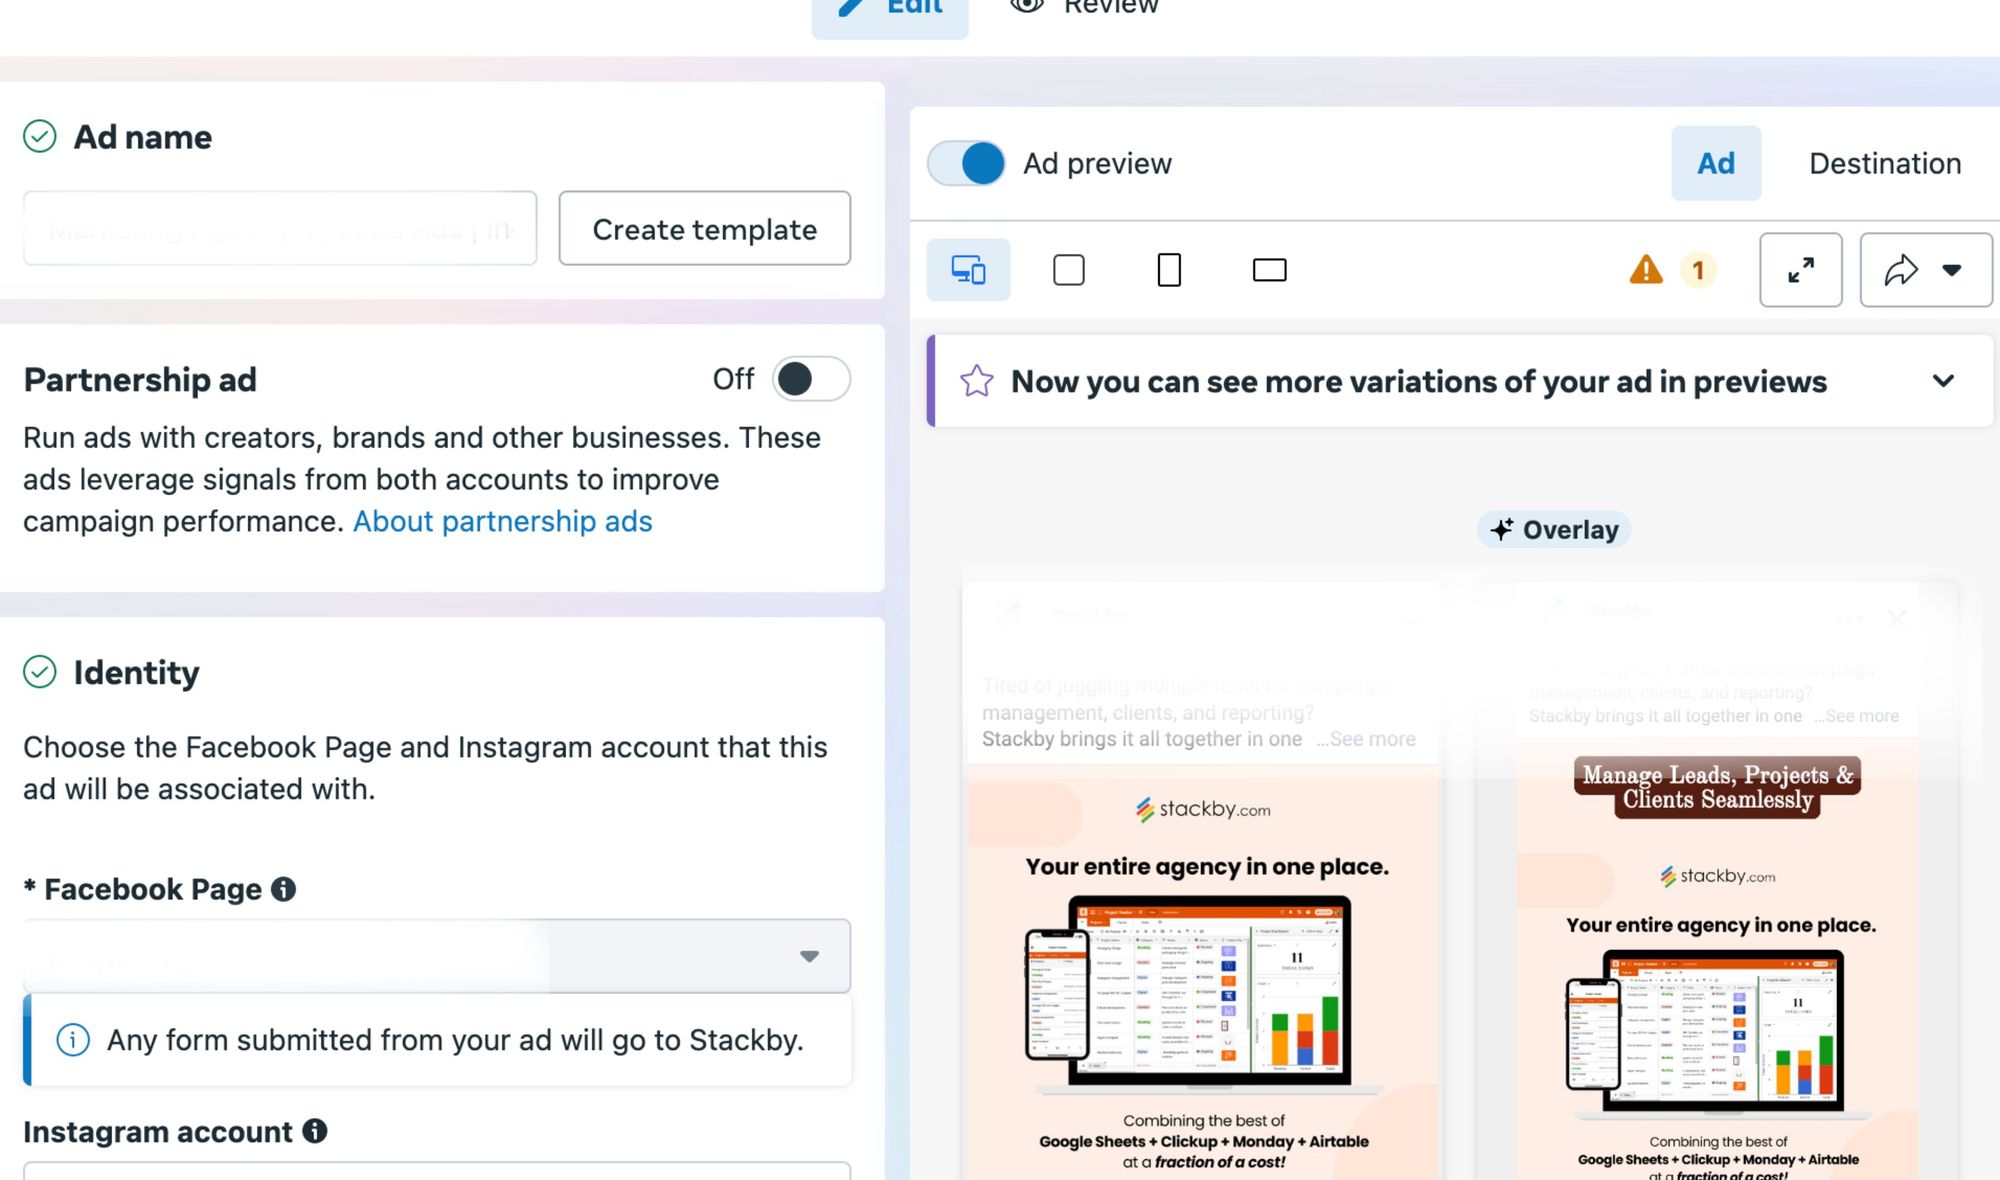
Step 2: Launch Facebook Lead Ad Forms
Creating an effective Facebook Lead Ad form is all about making it simple and clear. Here's how you can do it, even if you're setting it up for the first time:
1. Go to Meta Ads Manager:
- If you don’t have a Meta Ads account, create one.
- From the dashboard, click “Create” to start a new campaign.
2. Choose the ‘Lead Generation’ Campaign Objective:
- This tells Facebook that you want to collect leads (not just views or clicks).
- Name your campaign (something descriptive, like “Winter Sale Leads”).
3. Design Your Ad Creatives:

- Choose a visually appealing image or video and make sure it’s relevant to your offer.
- Write clear and engaging ad copy. Be direct, tell people what you’re offering and why they should sign up.
- Use a strong call-to-action (CTA) like “Get Started,” “Sign Up,” or “Learn More.”
4. Set Your Audience Targeting:
- Define who should see your ad (location, age, gender, interests).
- For better results, consider creating a “Lookalike Audience” of people similar to your existing customers.
5. Create Your Lead Form:
- Keep it simple and easy and only ask for information you really need (like Name, Email, Phone).
- Use a clear, engaging headline (like “Get Your Free Guide” or “Join Our Exclusive Offers”).
- Add a brief description to explain why they should fill out the form.
- Use multi-choice questions if you need to qualify leads (like “Are you interested in Product A or B?”).
- Make sure your form is mobile-friendly since most users will see it on their phones.
6. Privacy Policy:
- Add a link to your privacy policy (required by Meta).
- Be transparent about how you will use their data.
7. Review and Publish Your Ad:
- Double-check everything, your ad design, form fields, and audience targeting.
- Publish the ad.
Once your ad is live, leads will start coming in. But remember, if you’re manually copying these leads to a spreadsheet, it’s only a matter of time before it becomes a mess. That’s where Stackby’s automated CRM can save you hours of work.
Step 3: Connect Your Facebook Lead Ads
Integrating Facebook Lead Ads directly with Stackby allows for real-time lead capture and management without manual intervention. Here's how to set it up:
- Access the Integrations section within your Stackby workspace and add Facebook Ads.
- Authenticate your Facebook account to grant Stackby access.
In your Stackby table, add new columns and set their type to API and configure them to pull data from Facebook Ads, like:
Step 1 - Ad Account Insights: Fetch metrics like CPC, CPM, Clicks.
Step 2 - Campaign Details: Retrieve information based on Campaign ID.
Step 3 - Ad Set Details: Get insights using Ad Set ID.
Step 4 - Ad Details: Access specifics using Ad ID.
- Reference the appropriate input columns (e.g., Ad Account ID) to pull data automatically.
- Set refresh intervals to keep your data updated and ensuring your CRM always displays the latest lead information.
This integration allows you to monitor and analyze your ad performance metrics directly within Stackby, eliminating the need to switch between platforms.
Step 4: Use Zapier, Make, Pabbly, or Integrately to Bring Data into Stackby
If you want to automate your lead management without complex setups, third-party automation tools like Zapier, Pabbly Connect, and Make (formerly Integromat) can be your best friends.
- Set up a workflow where a new lead in Facebook automatically creates a new row in your Stackby CRM.
- These tools are beginner-friendly, with drag-and-drop interfaces and ready-made templates.
Step 5: Track Status, Follow-Ups, and Due Dates of Leads
With your leads in Stackby, it's crucial to manage them effectively. Use the "Lead Status" field to track where each lead is in your sales funnel. Set "Follow-Up Dates" to remind yourself when to reach out. Use the Checkbox or Dropdown column to mark completed tasks.
You can even create filtered views to see, for example, all leads that need follow-up this week.
Stackby's Kanban view is particularly useful here. It allows you to visualize leads moving through different stages, much like sticky notes on a board.
Step 6: Track Individual Activity Like Calls, Meetings, or Notes of Each Lead
Your CRM should not only store leads but also help you maintain detailed records of interactions. And for that, you can create a separate table for interactions.
Add columns like “Lead Name,” “Activity Type” (Call, Email, Meeting), “Date,” and “Notes” so that every time you have a call, email, or meet with a lead, you can log it here.
Link this table to your main CRM table using Stackby's "Link to another row" feature.
This setup allows you to see all interactions related to a specific lead in one place. It's like having a mini-history for each contact.
Step 7: Create Custom Dashboards with Charts and Pivot Tables
Data is only useful if you can interpret it. With Stackby's Apps Marketplace, you can create dashboards that offer clear insights:
- Go to the “Dashboards” section in your Stackby workspace.
- Add widgets like bar charts, pie charts, or pivot tables.
- Track metrics like the number of leads, conversion rates, lead sources, and follow-up performance.
These visuals help you quickly identify which ads perform best, where most of your leads come from, and how your team is performing.
Step 8: Setup Automated Notifications for Each Lead Using Email and WhatsApp Integrations
Timely follow-ups can make or break a deal. And with Stackby’s robust internal automation capabilities, you can set up automations that send email or WhatsApp notifications when certain conditions are met. Here’s how:
- Use the “Automation” section in Stackby.
- Set triggers (e.g., When a new lead is added, when a lead’s status changes).
- Choose the action (Send Email, Send WhatsApp message).
- Scheduled Automations: Set date-based triggers for follow-ups.
- Dynamic Data Updates: Auto-update fields based on other field changes.
- No-Code Customization: Set up these automations with just a few clicks.
Now, you can stay connected with your leads without manual effort.
Why Stackby Is the Perfect Choice for Meta Ads CRM
Building a custom Meta Ads CRM in Stackby might seem daunting at first, but it's entirely doable and worth it. Here’s why:
- It’s a single tool that lets you collect, manage, and nurture leads without needing multiple apps.
- It’s flexible. Whether you use the template or build from scratch, it adapts to your needs.
- It’s automated. With direct integrations and automation, you save hours of manual work.
- It’s visual. With dashboards, you get instant insights without any confusion.
Remember, the goal isn't just to collect leads; it's to convert them. And with Stackby, you're well-equipped to do just that.
So, take the plunge. Customize your CRM, automate your workflows, and watch your conversions soar.
Start your free trial with Stackby today and see how effortlessly you can turn your Meta Ads leads into loyal customers.

![A Simple Guide on Workflow Management Software [Updated 2025]](/blog/content/images/size/w960/2021/12/work-management-blog.png)


