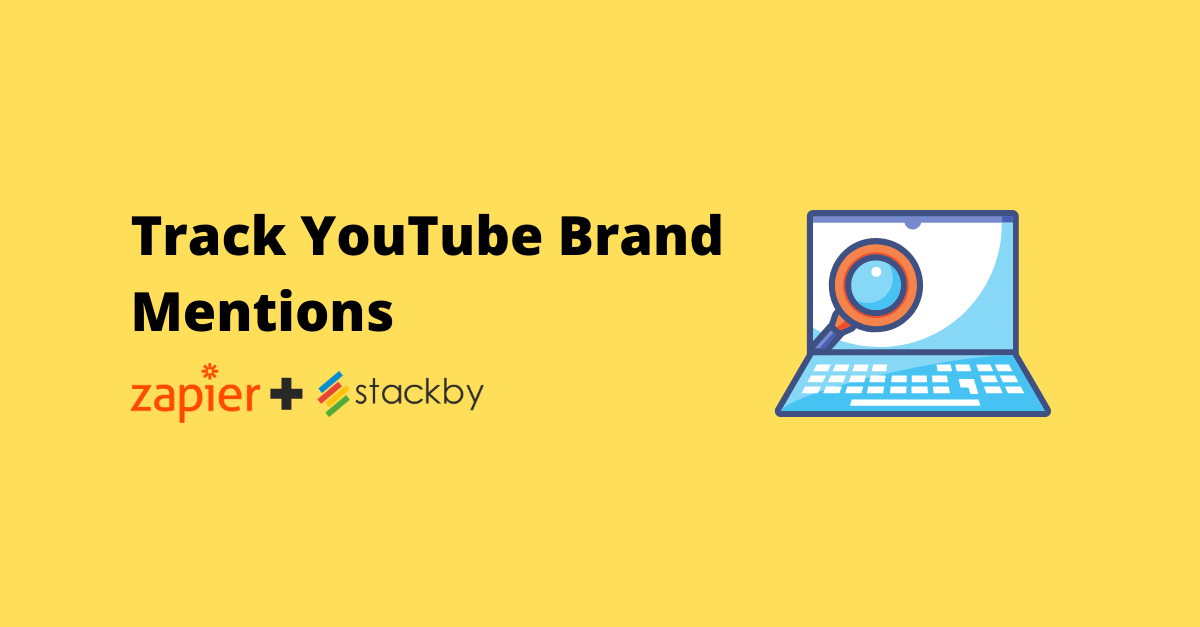
How To Track YouTube Brand Mentions Automatically using Stackby and Zapier in 2026
Track YouTube Brand Mentions Automatically using Stackby and Zapier in 2026
If your business doesn’t leverage YouTube as a channel then you’re missing on a lot of visibility. You can not only benefit from uploading new videos there but also by monitoring for brand mentions.
But don't worry you don't need go through the videos manually to do that. You can track the mentions automatically using just two tools - Zapier and Stackby. Apart from mentions, you'll be able to track their metrics and popularity too.
In this post, I'm going to walk you through the exact steps you can follow to set up this tracking. The complete process shouldn’t take more than 10 minutes.
Creating a zap to monitor new You tube uploads
As the first step you need to create a zap that triggers when a relevant new video is uploaded to YouTube.
Head over to Zapier, and, assuming you've already setup an account, click create a new zap, selecting “YouTube” as the trigger app and “New Video by Search” as the trigger type.

Remember for this zap to work you need to authenticate your YouTube account first.

In the query field add your business/app name. If it’s more than one word, then add quotes and a space between the words ( eg. “Rachit” “Stackby”). You're free to add as many words you want.

Once you’re done configuring the trigger, click “Continue” and test it.
If everything’s right, you’ll get some sample data like the following (check the screenshot below):

Creating your stack in Stackby
Before we finalise our zap, you need to go to Stackby and create a new template. Stackby brings together the best of spreadsheets, tables, databases and business APIs. To make it easier, Stackby has already a template created named “YouTube Channel Metrics”. To test this zap out you can use our fully functional 7 days free trial. The paid plan starts at just 5$/month.

Next, you’ll need to connect the YouTube API to your workspace. Just click on "Connect to an API" on the dashboard.

Then just search “YouTube” and click on YouTube. The integration page contains step by step instructions on how you can generate the API key to connect Stackby with YouTube.

Once this is done, just copy the YouTube Channel Metrics template to your workspace. To do this head over to the template page and click on “Copy Stack". You’ll then be prompted to add it to one of your workspaces. Just choose the relevant workspace.
The template is already filled with some example data. Just delete all rows except “YouTube API”.

We’re just going to add two more columns to make this extra useful for us. They’ll be for the video’s title and a link to the video for ease of viewing.
To add a column, scroll all the way to the right of the stack and click the plus icon.

After adding the columns you'll need to assign it a type - “Short text” for the video title and “URL” for the video link.

Once complete, drag both columns back across to the left of the stack like shown in the image below.

Connecting Zapier with Stackby
After this, you need to head back over to zap we were building.
Inside the zap editor, click the plus symbol to add an action step to your zap, selecting “Stackby” as the app and “Create Row” as the action type.

You’ll be prompted to connect your Stackby account using an API key which you can find on your account page.
The next part of configuring the zap requires you to select your workspace, stack and table from dropdown. This is quite straight forward.

Next, there are four additional fields you’ll need to map with data from the Youtube app.
We’ll add the Channel name to the first field. Just click the field and choose “Channel Title”.
Similarly map “Channel ID” column to “Channel ID” from the dropdown.
Finally, do the same for ‘Video Title’ and ‘Video URL’.

After this, you can click the “Continue” button and then the “Test & Review” button to activate the zap.
If you’re followed the correct steps, you’ll see a success message, and a new column would be created with the details on the Stackby template.

After this you can turn the zap on. Now whenever a new video containing your brand name is created, the channel name and other information will be added to the stack we created earlier on Stackby. Remember to refresh the YouTube API to fetch the channel metrics upon a new video addition to the stack.
-----
This is a guest post from Andrew Davison. He runs Luhhu, an automation agency that specializes in Zapier.
![Best 14 HR Database Software for Recruitment Agency [Free+Paid] [2026]](/blog/content/images/size/w960/2024/04/stackby--hr-database-software-blog-post-5.3.jpg)
![A Simple Guide on Workflow Management Software [Updated 2026]](/blog/content/images/size/w960/2021/12/work-management-blog.png)
![Step by Step Guide on How to Build Forms in a Database [2026]](/blog/content/images/2022/03/form-database-blog.png)