
Simplify Your Record-Keeping with Receipts Templates for Businesses - Steps & Examples
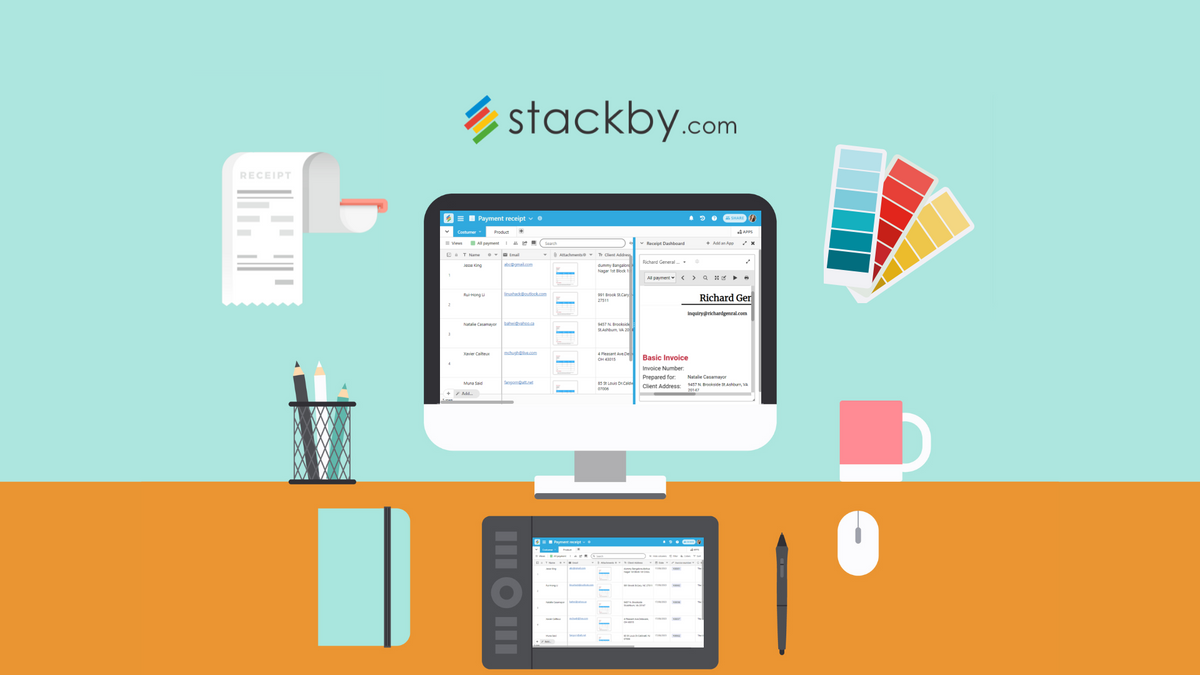
Creating custom receipts for your business? Use Stackby's Page Designer app to bulk create receipts in minutes directly from data within your tables. Explore the receipts templates along with examples.
In a world where transactions are constantly occurring, having an efficient way to document these exchanges is essential. This is where receipts come into play. Receipts are tangible proof of a transaction, whether a sale, payment, or rental agreement.
Irrespective of whether you are a business owner, freelancer, landlord, or just an individual trying to keep track of expenses, receipts play a crucial role in maintaining accurate financial records. To make this task more efficient, many are turning to receipt templates.
In this blog post, we will inform you about receipt templates and their benefits, showcase some examples, and explore how Stackby's Page Designer can elevate your receipt creation process.
Explore all of our customizable templates by visiting the Stackby templates page.
So, let's get started:
 Rachit Khator
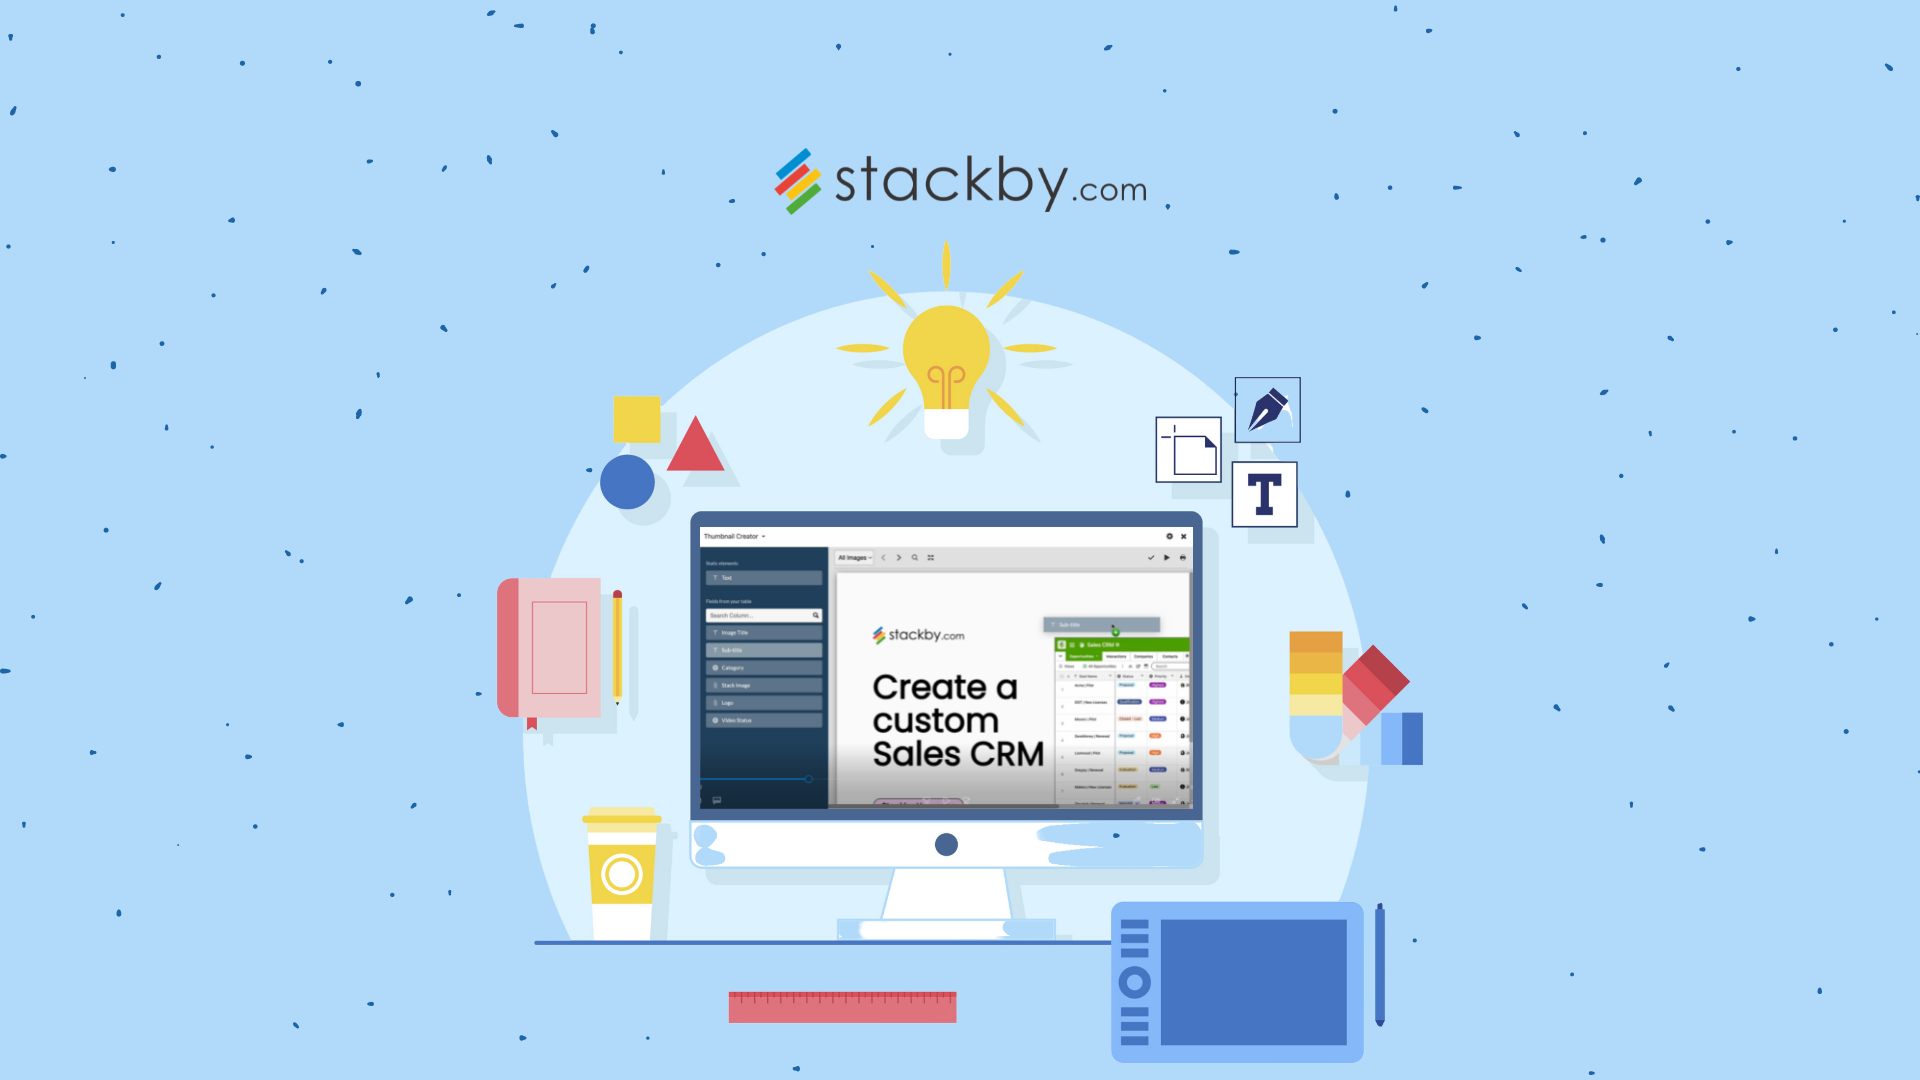
Receipts Template: What is it?
A receipts template is a pre-designed format that facilitates the creation of receipts for various transactions. It includes essential fields such as the transaction date, item details, payment amount, taxes, recipient information, etc.
Receipt templates offer a standardized way to generate receipts, ensuring accuracy, professionalism, and consistency across all your financial documentation.
They play a key role in maintaining organized records of expenses and also automate the process of generating receipts, which helps in keeping a close track of payments and outstanding debts.
Key Elements for Making a Receipt
- Collect Information: Gather transaction details, including your contact info, recipient info, date, items or services provided, quantity, prices, payment method, taxes, and receipt number.
- Choose Format: Decide whether to create a digital or physical receipt.
- Select Tool: Use software, online platforms, spreadsheet software for digital receipts, or paper and pen for physical ones.
- Use Templates: Choose or customize a receipt template if using the software.
- Input Data: Enter collected information into designated fields or columns.
- Verify Accuracy: Double-check all details for accuracy and clarity.
- Save or Print: Save digital receipts as PDFs or images; print physical receipts on paper.
- Provide Receipt: Share digitally via email or messaging, or hand over the physical receipt to the recipient.
- Retain Copy: Keep a copy of the receipt for your records.
- Ensure Legibility: Write neatly if creating a physical receipt.
- Add Signature or Stamp: Include your signature or company stamp/logo for authenticity.
- Review and Share: Review all details before providing the receipt to the recipient.
- Maintain Records: Keep the receipt in your records for future reference.
Why Should One Make Use of a Free Receipt Template?
- Efficiency: Receipt templates help in saving both your time and effort. They eliminate the need to start from a blank slate each time you need a receipt. As a result, it helps streamline the process and allows you to focus on your core tasks.
- Consistency: Using a template ensures consistency in the look and structure of your receipts. It creates a professional impression and builds trust with your clients or customers.
- Accuracy: Receipt templates often include predefined fields for essential information like transaction details, dates, amounts, and parties involved. It reduces the chances of manual errors.
- Compliance: Depending on your business or industry, there might be legal requirements for the information that must be included on receipts. Templates often come with these necessary fields, ensuring compliance with tax regulations. So, using this helps you to cope with any legal liabilities.
- Branding: Many templates allow you to customize the design to include your company logo, colors, and branding elements. It adds a personal touch to your receipt lots.
What are Some of the Best Examples of Receipts Templates?
Below are a few fantastic examples of receipt templates that you can consider using for various purposes:
1. Sales Receipt Template: This template is ideal for businesses selling products or services. It includes fields for item descriptions, quantities, unit prices, subtotals, taxes, and the total amount. It's perfect for recording transactions and providing customers with a clear breakdown of their purchases.
2. Payment Receipt Template: A payment receipt template helps acknowledge payments received. It includes sections for the payer's name, payment method, payment details, payment date, amount paid, and receipt number. This template is commonly used for recording rent payments, service fees, or any other types of payments.
3. Rent Receipt Template: Landlords and property managers can benefit from this template to provide tenants with a formal record of rent payments. It typically includes details such as the property address, rental period, rent amount, date of payment, and the landlord's signature.
4. Service Receipt Template: This template is suitable for freelancers, contractors, and service providers. It helps document services rendered, hourly rates, or fixed fees. It includes fields for the client's name, service description, service date, and total amount.
5. Donation Receipt Template: Nonprofit organizations often use donation receipt templates to acknowledge contributions from donors. The template includes fields for the donor's name, donation amount, donation date, and a thank-you message. This receipt is valuable for both the donor and the organization for tax and record-keeping purposes.
6. Expense Receipt Template: Businesses and individuals can utilize this template to track and record expenses. It includes categories for expense details, date, description, and amount. This template helps maintain accurate financial records for tax purposes.
7. Hotel Receipt Template: Hotels and hospitality businesses can use this template to provide guests with a formal receipt for their stay. It includes information such as guest details, check-in and check-out dates, room charges, taxes, and additional services availed during the stay.
8. Medical Receipt Template: Healthcare providers can benefit from this template to issue receipts to patients for services rendered. It includes patient details, service date, service description, and charges. This template aids in maintaining transparent records of medical transactions.
9. Cash Receipt Template: This template is essential for businesses that primarily deal in cash transactions. It includes fields for recording details such as the payer's name, date of payment, and amount received. It is widely used in retail, small businesses, and other cash-based transactions and ensures transparency and accountability in cash handling processes.
These receipt templates offer a range of options for different scenarios and industries. Depending on your needs, you can customize these templates or create your own to suit your specific requirements.
Here's a recommendation: Generate payslips in bulk right from the data with Page Designer app in Stackby
Creating Printable Receipts Templates with Stackby Page Designer
Stackby's Page Designer is a robust tool that empowers you to design, customize, and generate your own professional receipt templates. It also allows you to manage and track data along with creating receipts in real-time on a single interface.
Pre-Built Templates of Stackby
We have many pre-built templates that you can leverage to make the best out of the Page Designer application. It includes the following:
- Payment Receipt Template
- Expense Tracking Template
- Budget Tracker Template
- Legal Case Tracking and Billing Template, and more.
Below is the step-by-step guide on how you can utilize Page Designer to create receipts that reflect your brand identity and streamline your record-keeping process. Here, we are taking the reference of our Payment Receipt template for discussing the steps:
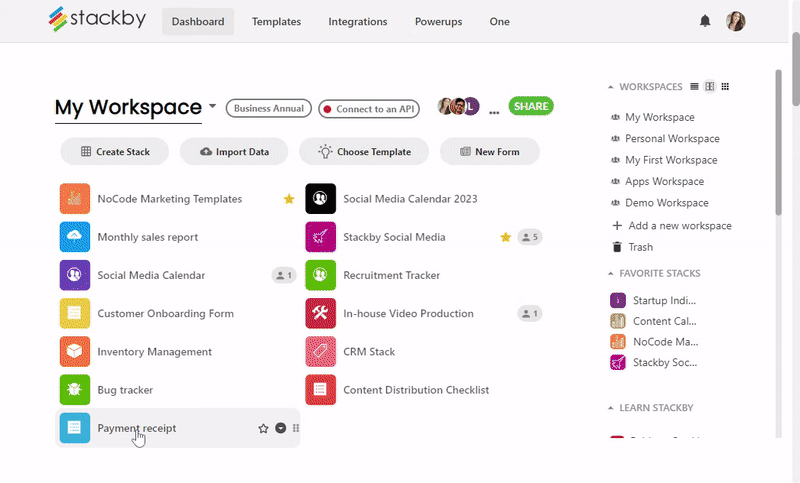
Step 1: Add Page Designer App in Stackby Apps Marketplace
- Open your Stackby workspace, create a stack, or use a pre-built template like Payment Receipt.
- Go to apps, select the “Add an App” option, and select the "Page Designer" app.
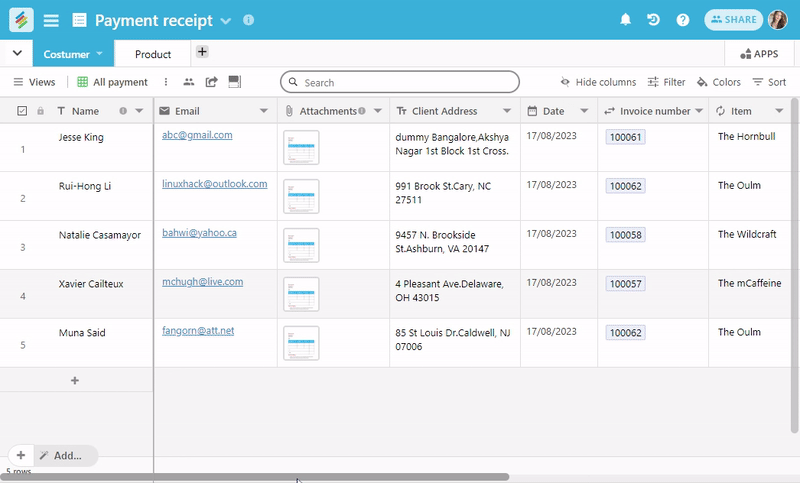
Step 2: Design Your Database Template
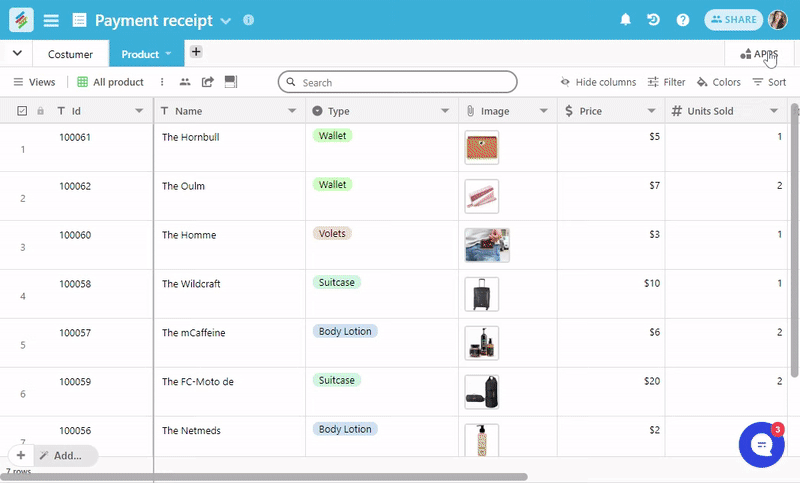
- To set up your stack, include tables and essential fields such as Email, Date, Invoice Number, etc. Our Payment Receipt template comes pre-equipped with two tables, namely Customer and Product, along with their respective fields. You can utilize it as-is if you prefer.
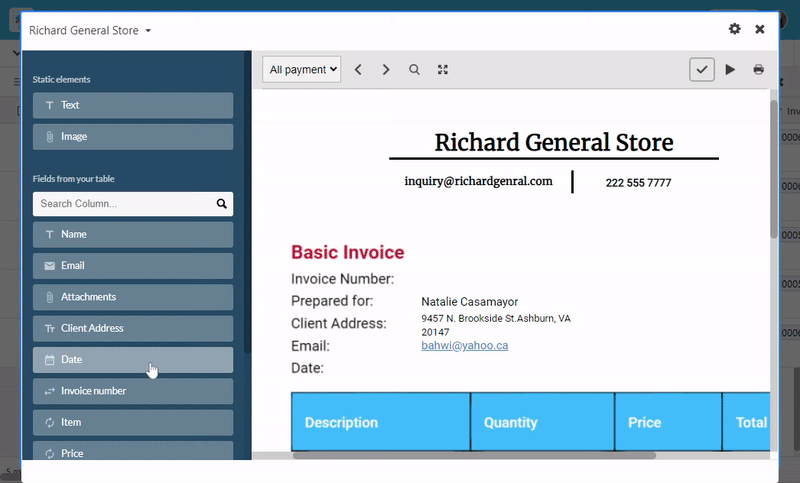
Step 3: Add Elements from Database to Create Custom Receipts
- Go to the Page Designer App and utilize its user-friendly drag-and-drop interface to begin adding elements like text fields, tables, logos, etc. to create receipts. You can even integrate your brand colors.
- Design the header section with your company logo, name, and contact information. It contributes to adding a professional touch to your receipts.
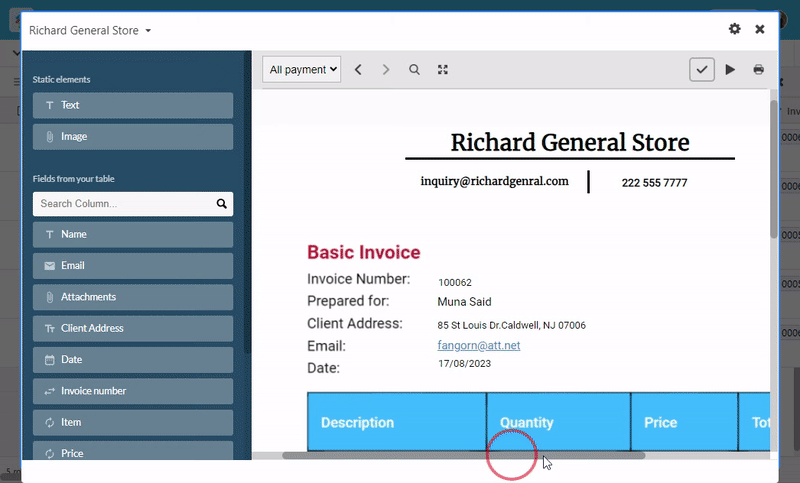
Step 4: Drag and Drop Dynamic Columns
- One of the key advantages of using Stackby Page Designer is the ability to establish connections between dynamic fields and your base's data.
- Fields like date, invoice number, total price, and other relevant details get linked to your receipt template. It ensures that your receipts are automatically filled with precise details.
Step 5: Customize Receipt Layout
- Arrange the added elements to create a visually appealing and organized receipt layout.
- Adjust fonts, colors, and spacing to align with your branding and ensure a consistent and professional appearance across all your receipts.
- You can include other sections as well that suit your requirements.
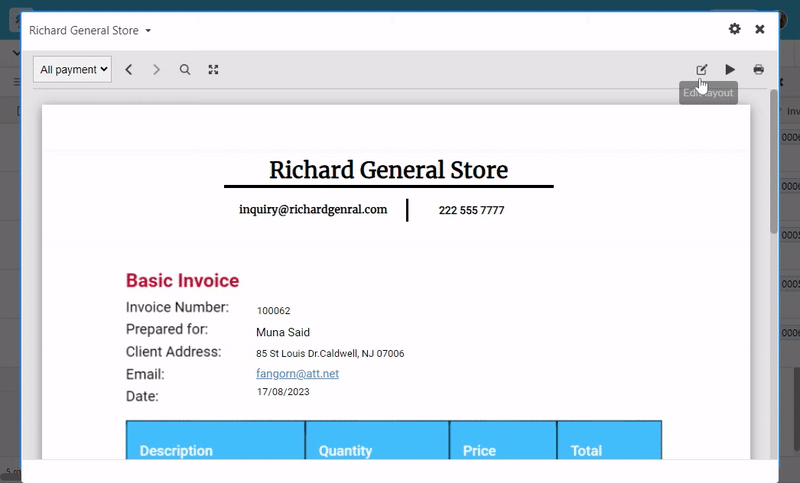
Step 6: Preview and Export your Receipts
- Once the receipt template is ready, preview it to ensure that all elements are correctly placed and aligned with the "Preview" option.
- Once satisfied, you can export your receipt template as a PDF or image file. This file can then be easily shared or printed for distribution.
By following these steps and making the most of Stackby's Page Designer, you can create customized receipt templates that streamline your record-keeping process and enhance your brand's professionalism.
The dynamic fields feature ensures accuracy and efficiency, while the design customization allows you to craft receipts that resonate with your brand identity.
“Browse our full receipts Templates gallery for more customizable options.”
Wrapping Up
Receipts might seem like small pieces of paper, but they hold significant importance in maintaining financial accuracy and building trust with clients, customers, or tenants. Utilizing receipt templates streamlines your record-keeping process and ensures professionalism and compliance with legal requirements.
With Stackby's Page Designer, you can elevate your receipt creation process to new heights, customizing templates to match your brand identity while automating data integration.
So sign up with Stackby for free today!

![A Simple Guide on Workflow Management Software [Updated 2026]](/blog/content/images/size/w960/2021/12/work-management-blog.png)
![Step by Step Guide on How to Build Forms in a Database [2026]](/blog/content/images/2022/03/form-database-blog.png)